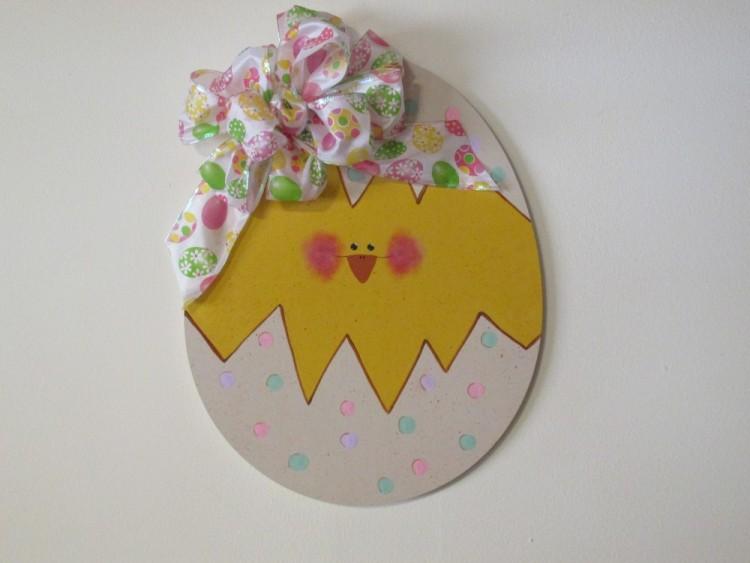
Looking for an Easter project to hang on your front door or just about anywhere? This cute little chick is peaking out a little early, but that’s alright by us! Just look at that face and we are sure your friends and family will love this as well. While this looks difficult to paint, it is actually quite easy if you follow this tutorial!
Supplies needed:
- Wooden Egg Shape (1/2″ thick and 16″ tall)
- Craft Paint (Black, White, Orange, Light Pink, Lime Sherbert, Lavender, Kings Gold, Antique White, Chocolate Bar)
- Paintbrush
- Old toothbrush
- Plate or disposable container lid
- Newspaper or cardboard
- Sandpaper
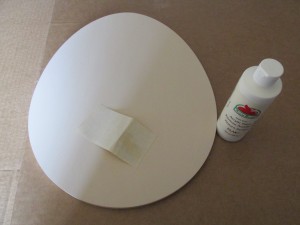
1 – Gather your supplies. Setup the cardboard or paper to protect your work area.
2 – We are going to paint a large wooden egg shape for a holiday wall hanging. First paint the egg either white or off-white. I chose to paint this one with a mix of antique white and white. After painting the sides and top of the egg let it dry completely and then sand any drips or runs the paint may have left.
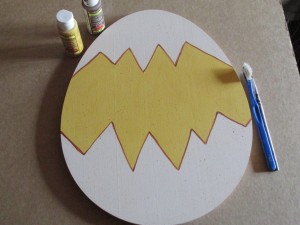
3 – With a pencil lightly draw a cracked eggshell pattern near the top and bottom of the egg. Paint the middle part yellow or gold. I chose Kings Gold on this egg. Then outline the cracked shape with a liner brush and brown or black paint. Add some water to a bit of brown paint, so it is like thin ink. Dip an old toothbrush in the thin paint, hold over the egg and flick the brush with your finger so that tiny drops of paint speckle the egg.
4 – With a 1/2 inch piece of dowel, or any round object about that size, make dots on the white part of the egg in Easter colors. I chose lavender, pink and light green.
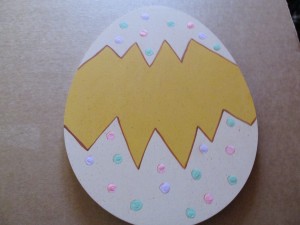
5 – Outline one side of each dot with brown paint. This gives a dimensional look to the dots and makes them stand out.
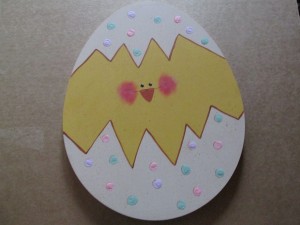
6 – Dip a q-tip in black paint and make two small dots near the center of the egg for chick eyes. Under the eyes paint an orange triangle for the beak. Using a fine liner brush make two small dots at the top of the triangle for the chick’s nose. At the top edge of the triangle, make a small line for a mouth using the liner brush. Make small white dots on the black eyes, this gives eyes “life”.
Dip a stencil brush in red or pink paint, dab it on a paper towel until most of the paint is gone. Then pounce the brush on the mouth lines on the chick’s face.
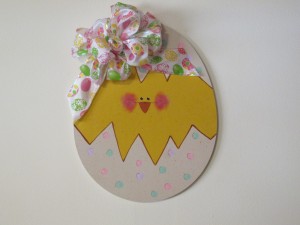
7 -You can nail a picture hanger to the back at this point.
