This Happy Easter sign is a perfect piece for decorating for the Easter holiday. Using cotton swabs to make the flowers makes this a quick and easy craft project. If you never painted any wood crafts before, we suggest you to read our basic tutorials to show you some good ideas and tips before proceeding with this tutorial.
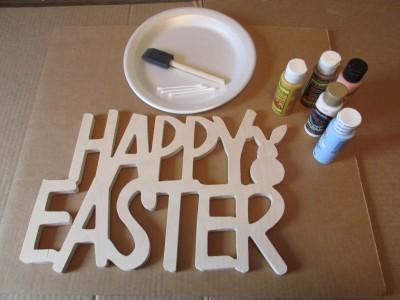
Supplies needed:
- Happy Easter Sign (This sign was 1/2″ thick and 16 inches wide)
- Craft Paint (Regency Blue, White, Black, Light Pink)
- Paint Brush
- Cotton swabs
- Plate or disposable container lid
- Newspaper or cardboard
- Sandpaper
1 – Gather all your supplies needed for this project. Layout the newspaper or cardboard to protect your work area.
2 – Paint the bunny white and then paint the HAPPY EASTER a light blue.

3 – Using a cotton swab, dip the end in black paint and make two small dots for the eyes. Take some dainty ribbon, tie a small bow and hot glue it into place.

4 – Use a small brush with black paint and place the threads around the edges to make the stitching. Using another cotton swab, dip it in white paint and hold at an angle to make the flowers.

5 – After the flowers are done and dried, cut the cotton swab in half. Dipping the cut end into some yellow paint, apply dots to the centers of the flowers.

Your HAPPY EASTER sign is now complete! You can optionally tie a ribbon, use some wire or sisal rope for hanging your sign. If you purchased a smaller sign, it can be hot glued to a wreath as well. The ideas are almost endless!